

Jun 27, 2025
Why a virtual bookkeeping service is perfect for tech entrepreneurs & startups
You already work with remote designers and developers and manage them using cloud apps like Slack, Asana, G-Suite, Zoom, Loom, InVision,…

Written by Jonathan Burns
Jun 22, 2023 Under 48min read
First, you’ll add your company details like your primary address, CRA account number and contact details.
How to decide your remittance schedule: There are different thresholds for remittance requirements, check out the link below to see your companies remittance threshold and requirements:
Government of Canada – How and when to pay (remit) source deductions – Due date
Eligible for 10% wage subsidy
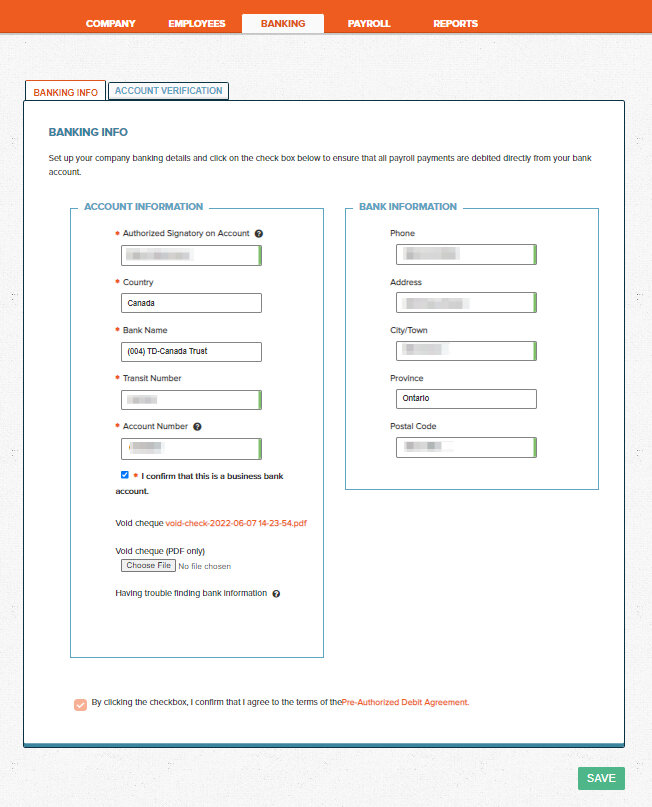
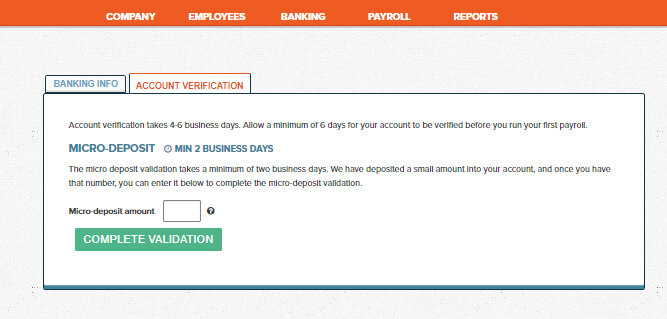
Once your company is setup, linking the bank is the next crucial step. Wagepoint makes it easy, just pop in your banking details and add a void cheque. They’ll send a confirmation deposit to your bank, once you enter the amount in the account validation tab you’re ready to run your first payroll.
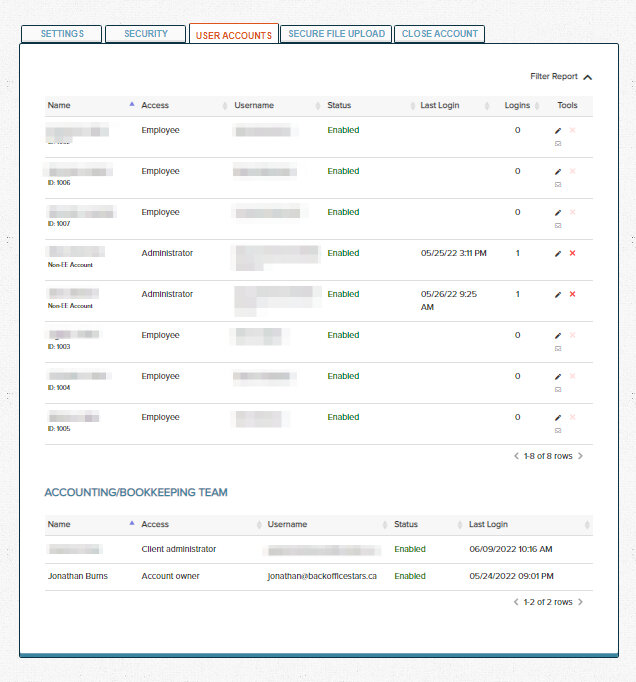
In settings, you can manage user access and permissions. To add a new admin user you need to contact wagepoint via email at support@wagepoint.com.
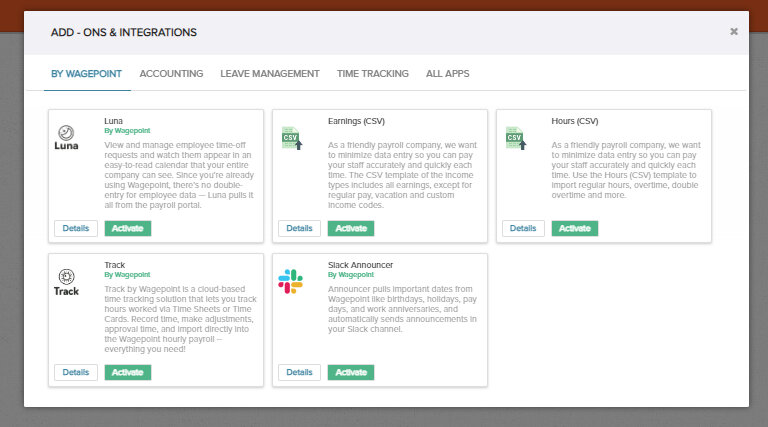
Wagepoint integrates with XERO and QBO, you can map your accounts and have Wagepoint automatically add your payroll entries, saving you time. It also integrates with Luna for leave management, and several time tracking apps so you don’t have to manually enter hours.
While you’re waiting for the confirmation deposit, you can add in all the details of your company’s payroll in each of the company section tabs, and then move on to adding your employees and configuring your company’s settings.
Chapters
Jun 27, 2025
You already work with remote designers and developers and manage them using cloud apps like Slack, Asana, G-Suite, Zoom, Loom, InVision,…

Jun 27, 2025
Do you need to manage recurring tasks as part of a workflow for your team? Asana is a great, free, way to do this. Jonathan explains how to…

Jan 23, 2025
Endless instructions and considerations make payroll services in Canada a pain. That’s why we put together this guide on how to set up…